Table of Contents
1. Connecting the OLED module to the Raspberry Pi

Video Tutorial:

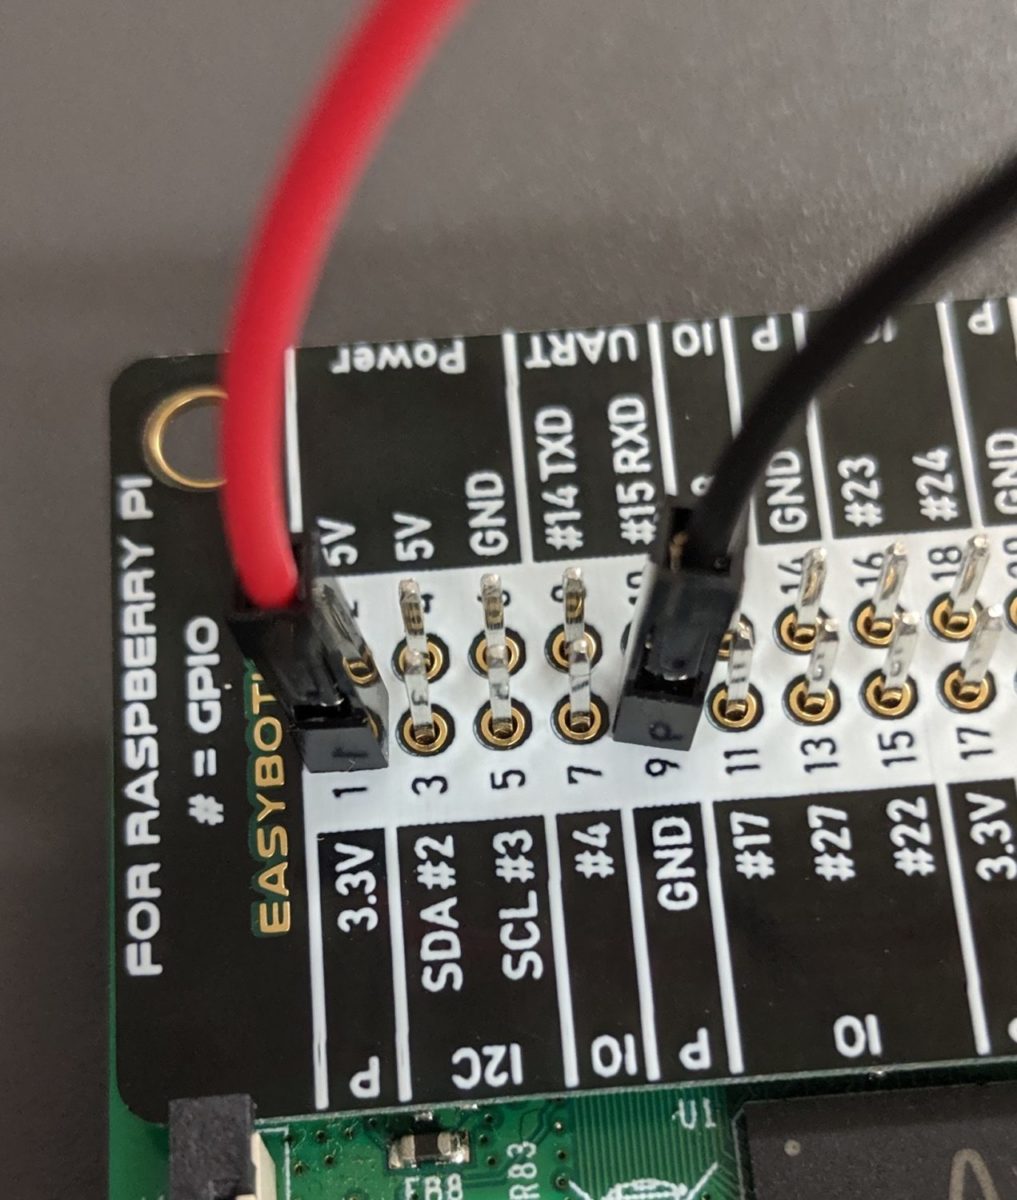
Begin by connecting your VDD (red wire) and GND (black wire) cables.

Connect your SCL (SCK on OLED module) and SDA wires.

Connect the VDD (OLED) to 3.3V (RPi) pin and GND (OLED) to GND (RPi) pin.
Connect the SCK (OLED) to the SCL (RPi) pin. and the SDA (OLED) to the SDA (RPi) pin.
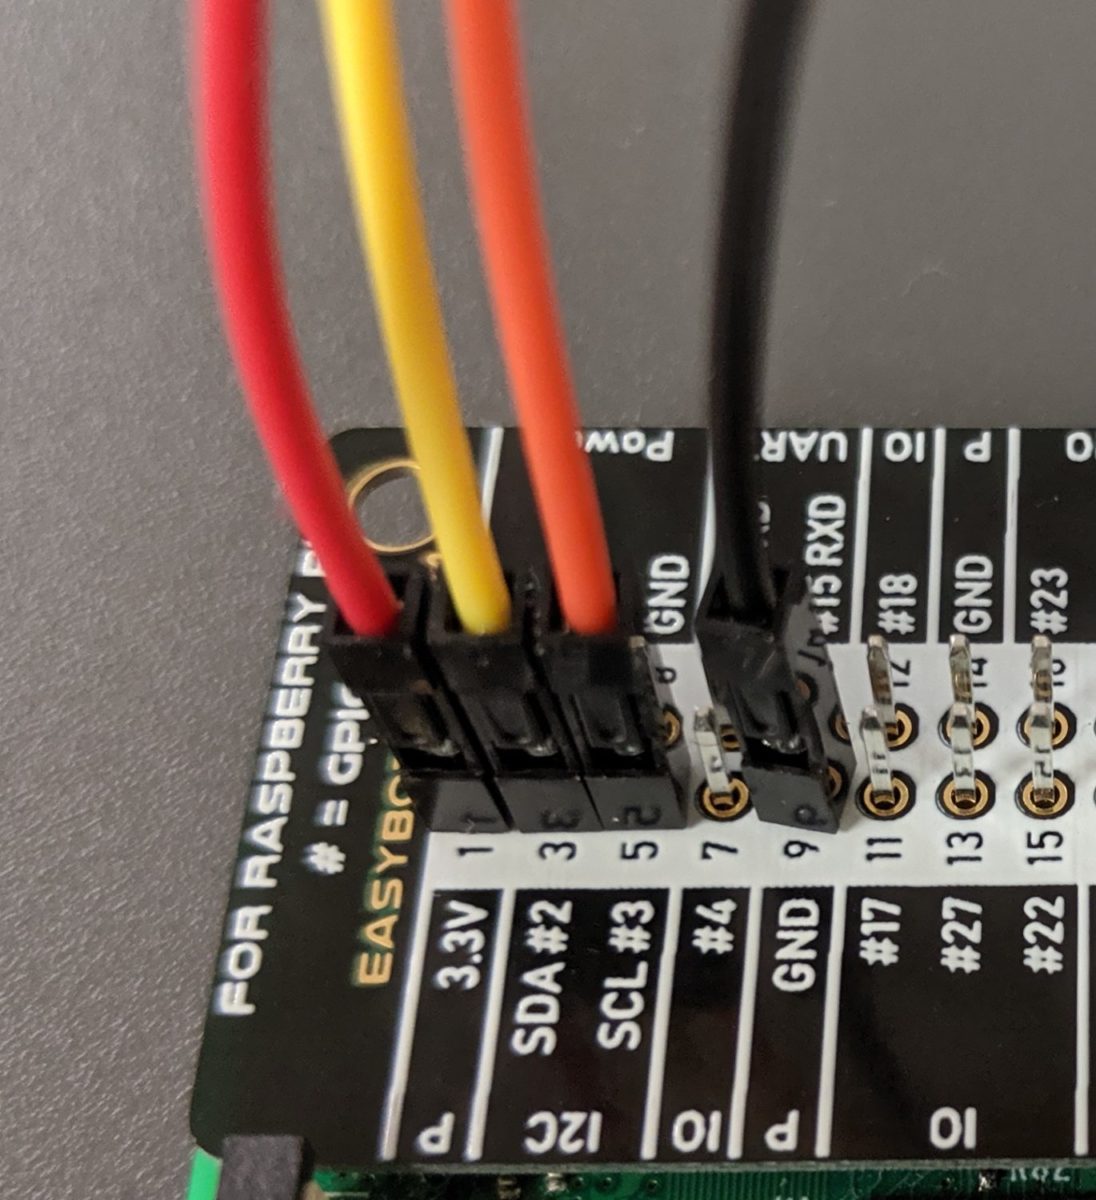
Your connections should look like this:

| OLED Pin | Pi Pin | Notes |
|---|---|---|
| Vcc | 3.3V PIN 1 | 3.3V |
| GND | GND PIN 9 | Ground |
| SCK / SCL | SCL #3 PIN5 | I2C SCL |
| SDA | SDA #2 PIN3 | I2C SCA |
* You can connect the Vcc pin to either Pin 1 or 17 as they both provide 3.3V.
** You can connect the GND pin to either Pin 6, 9, 14 , 20, 25, 30, 34 or 39 as they all provide Ground.
2. Printing messages on the OLED module using Node-Red
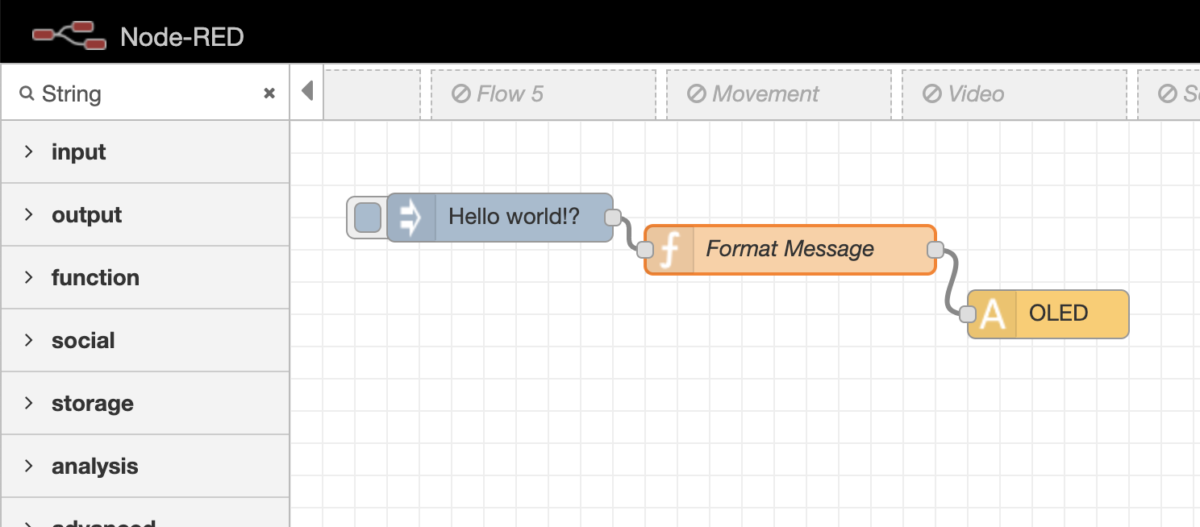
Now, we are going to print a simple “Hello, world” message to the OLED module.
- Begin by placing an inject node to your flow.
- Configure the inject node to send a ‘string’, with the message, “Hello, world!”.

- Insert the function node onto the flow.

- Configure the function node. Give the node the name of “Format Message”.

- In the function field, type in the following:
msg.payload = {
    x:1,
    y:50,
    text:msg.payload
}

return msg;
Now try this, change the values for x and y. How does the message display on the OLED?
- You should now have two nodes on the flow

- Insert the String node into the flow:

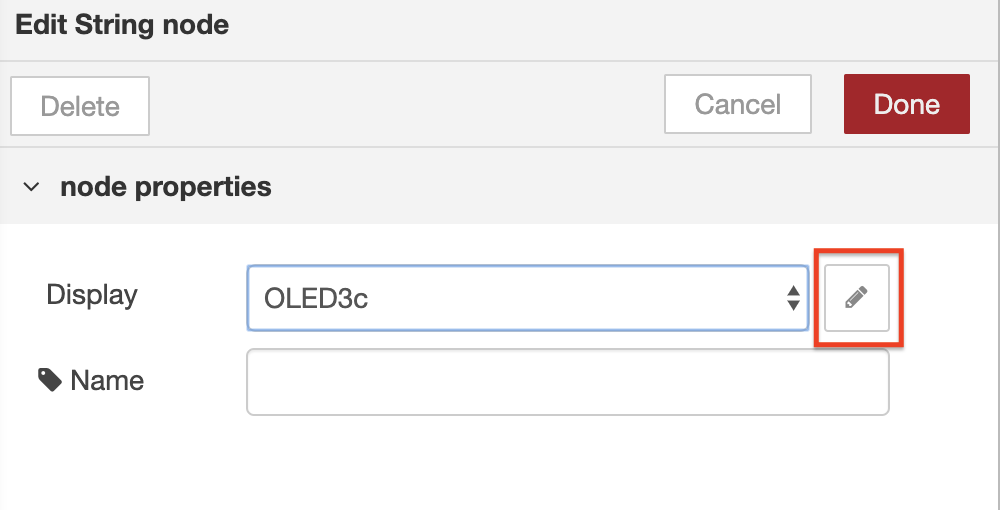
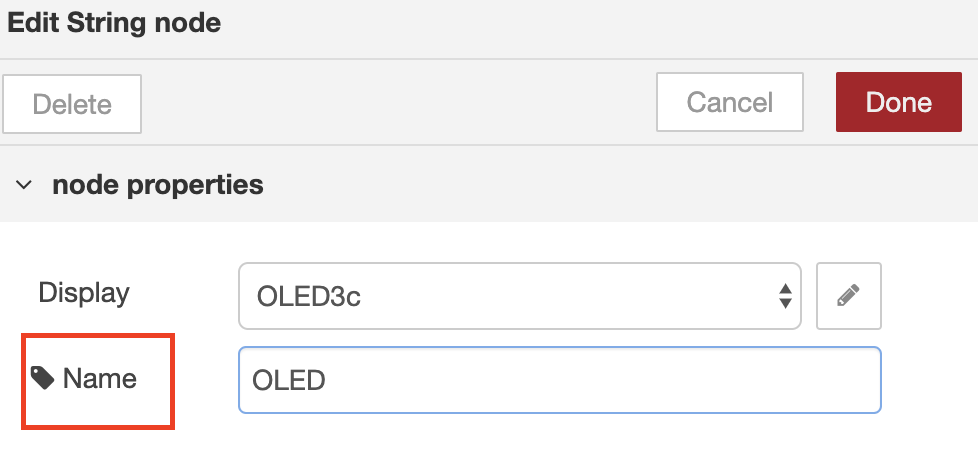
- Configure the node and select the ‘pencil’ icon:
- Verify that the Bus Address is set to 3c, width set to 128, and height set to 64:

- Select ‘update’ and name the node “OLED”
Complete:
- After deploying your flow to your Raspberry Pi, click on the inject node’s button to print your message.