Goal:
Interact with Minecraft using the Python programming language and Minecraft’s application programming interface(API).
What You Will Learn:
- Basic Python Programming
- Use of the Minecraft API
What is an API?
To put it simply an API is a well defined method of interacting with some kind of software. Think of it like the rules to a game, the rules dictate how the game is played and how you are able to interact with the game state.
What is Python?
Python is an interpreted programming language that is designed to be easy to learn and easy to use. Python has many available libraries for the Raspberry Pi and is a very useful tool on the platform. Keep in mind that python uses white space (spaces, tabs, etc) to format and organize it’s instructions, take close care when typing to avoid these sometimes unobvious mistakes.
Getting Started:
Open a terminal either clicking the icon on the top bar or using the keyboard shortcut CTRL+ALT+t.
![]()

We are going to make a folder to store help organize the code we will be writing. Enter the following into a terminal
mkdir ~/code
The mkdir command creates a new directory at the specified location, in this case “~/code”.
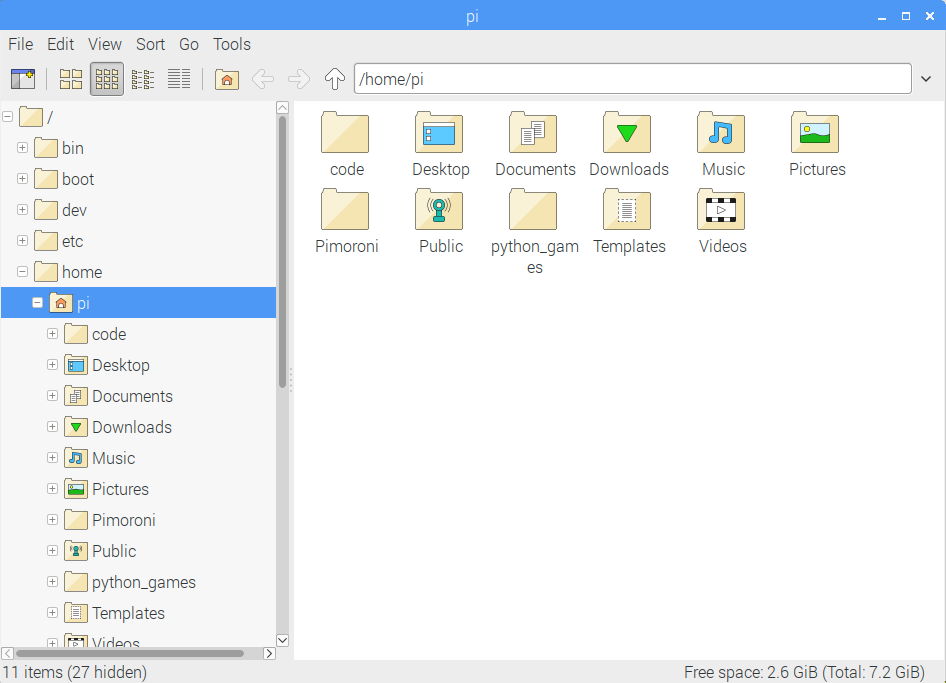
The “code” directory is created at the “~/” location ~ or tilde is a shortcut for the home directory. We can verify the success of the command by entering
ls
In the terminal (this command lists all files and directories), or using a file explorer.

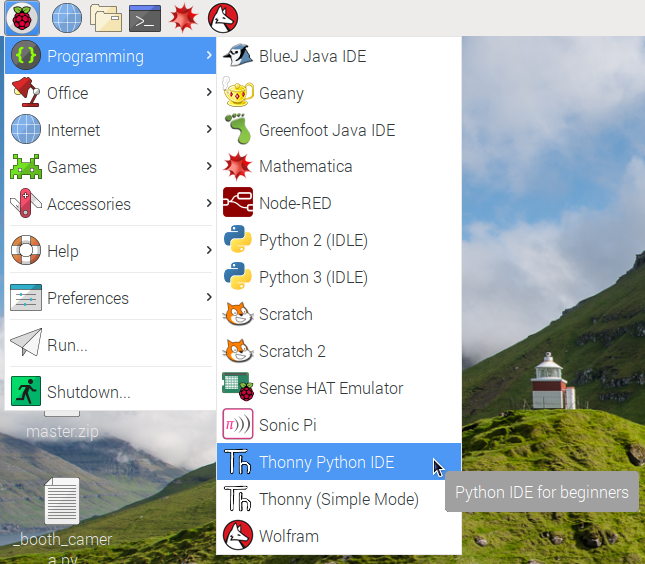
Next, open Thonny Python IDE by navigating to the Raspberry Pi icon in the upper left side of the desktop, click on Programming and look at the bottom of the list for Thonny Python IDE.
Click on File and select New.

Click on File and Save As “minecraft_python.py” in the code folder we created earlier(/home/pi/code).

Now we are ready to start programming in Python.
Into your empty Python file type
import mcpi.minecraft as minecraft
import mcpi.block as block
from time import sleep

The “import” keyword load a specific code module. The “as” keyword allows you to rename a code module to something else. The “from” keyword allows you to load a submodule as it’s own module.
Currently this python program does nothing exciting however lets learn how to execute the program. You can either use they keyboard shortcut F5 or click on the green play icon.
![]()
After program execution the shell at the bottom of the window should have some lines of text appear, however nothing should else should happen.

Now type the following into your program
mc = minecraft.Minecraft.create()

mc.postToChat("Hello, world!")
sleep(5)

The first line creates an object that is connected to running an instance of Minecraft. Setting it equal to mc lets us access the Minecraft game using mc within the code. The second line uses the mc object and a method “postToChat” to send text to the games chat. The third line delays the program for the specified number of seconds, in this case 5 seconds.
Before running the code this time, we need to open Minecraft and enter a new world. Click on the Raspberry Pi icon in the upper left, click on Games and then Minecraft Pi.

Once Minecraft is open, click Start Game then join a preexisting world or Create New.
Using the tab key to free your mouse from the Minecraft window, run the code and switch back to the Minecraft window. “Hello, world!” should appear in the chat.

Going back to the code, type in the following
playerPos = mc.player.getPos()
mc.player.setPos(playerPos.x, playerPos.y + 50, playerPos.z)
mc.postToChat("Don’t look down!")
sleep(5)
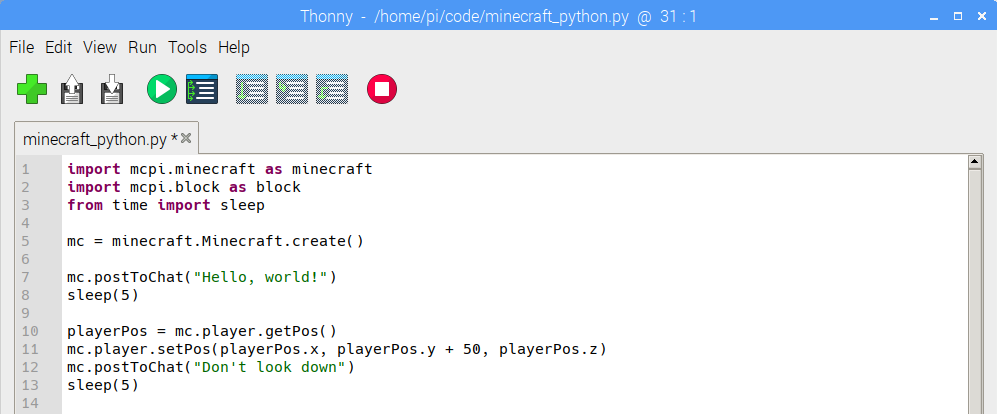 The position of the players head is stored in the playerPos object. The players new position is then set relative to the previous position (In Minecraft you stand on the XZ plane with the Y axis being vertical).
Running this code will in addition to the previous action of sending text to the chat but then teleport the player 50 blocks vertically of their current position.
It is ideal to type in code whenever possible as it helps with learning however this next section is rather large and copy-paste will make quick work.
playerTilePos = mc.player.getTilePos()
blockBelowPlayerType = mc.getBlock(playerTilePos.x, playerTilePos.y - 1, playerTilePos.z)
mc.setBlock(playerTilePos.x + 1, playerTilePos.y + 1, playerTilePos.z, blockBelowPlayerType)
mc.setBlock(playerTilePos.x, playerTilePos.y + 1, playerTilePos.z + 1, blockBelowPlayerType)
mc.setBlock(playerTilePos.x - 1, playerTilePos.y + 1, playerTilePos.z, blockBelowPlayerType)
mc.setBlock(playerTilePos.x, playerTilePos.y + 1, playerTilePos.z - 1, blockBelowPlayerType)
mc.postToChat("Trapped you")
sleep(5)

mc.setBlock(playerTilePos.x + 1, playerTilePos.y + 1, playerTilePos.z, block.AIR)
mc.postToChat("Be free!")
sleep(5)
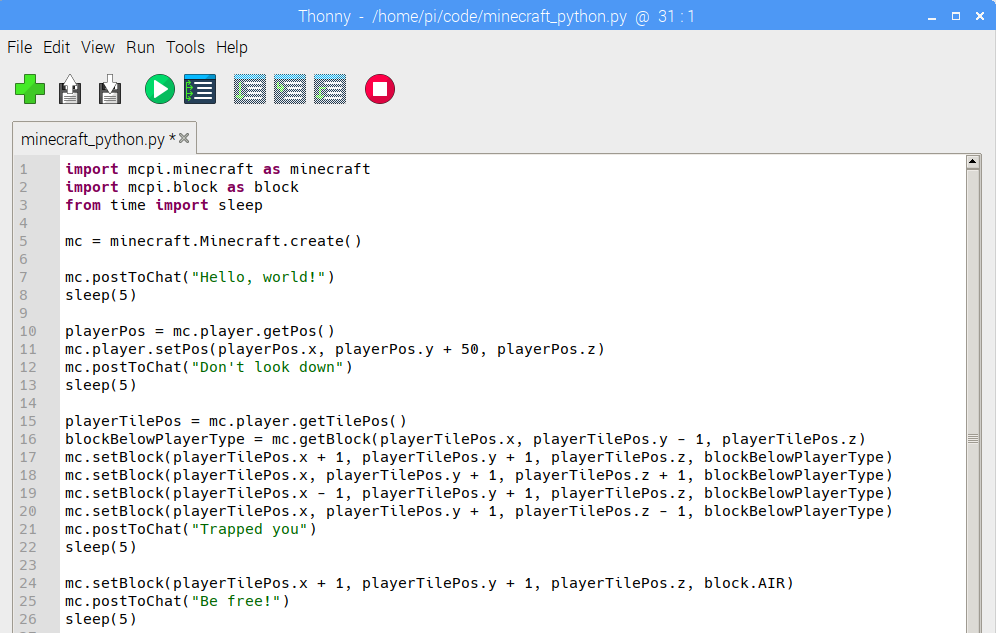 Notice that a different method is called to identify the position of the tile the player is standing in. The setBlock method allows a single block specified with an (X,Y,Z) coordinate and a block After running the code try to look back and see if you can identify what each line is doing.
Now add the following to your code.
mc.setBlocks(playerTilePos.x - 25, playerTilePos.y - 1, playerTilePos.z - 25, playerTilePos.x + 25, playerTilePos.y - 1, playerTilePos.z + 25, block.DIAMOND_BLOCK)
mc.postToChat("Now that's a big diamond floor!")

Notice that the setBlocks method unlike the setBlock method can take a range of X, Y, and Z coordinates.
Running the code this time in addition to the previous actions will change the blocks in a 50 x 50 x 1 shape 1 block beneath the players feet.
Whats Next?
- Modify the code, move the player in different directions.
- Add additional blocks to the trap.
- Try changing DIAMOND_BLOCK to another block type, a list of the block types can be found in the API documentation, about halfway down the page
- Inspect the API documentation to see how else you can interact with Minecraft using Python
Article and code adapted from source